Model
Choose a model for the kind of change you need. A fast free model is useful for testing direction; credit models may provide different style control, fidelity, speed, or output options.

Img2Img workflow guide
Start with an image, name what must remain recognizable, and describe the exact change. This practical Img2Img guide combines a working generator with prompts, settings, examples, and fixes you can use on the next result.
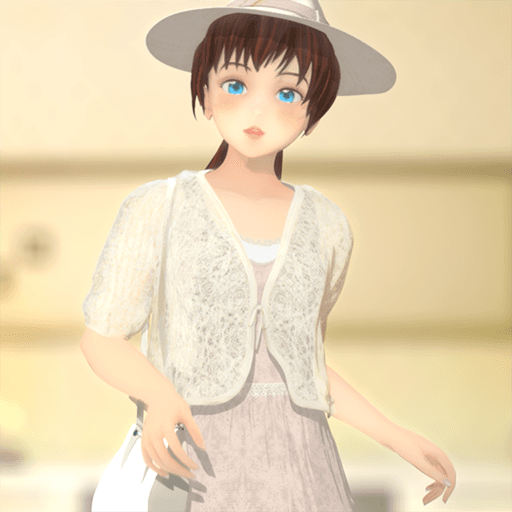
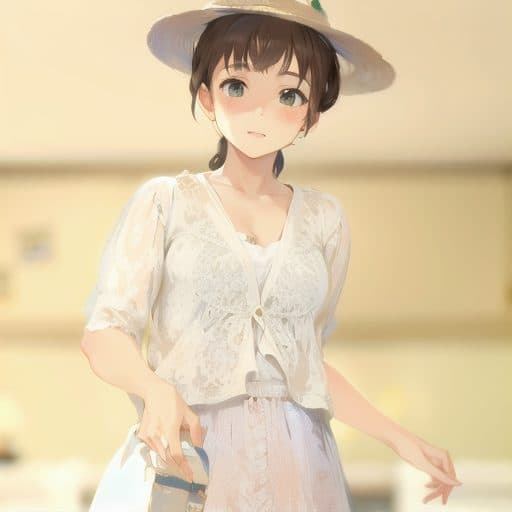
Working generator
Upload a source you own or may use, describe what should stay and what should change, then choose an available model and generation settings. The tool keeps the workflow beside the guide so you can apply each idea immediately.
Definition and practical limits
Img2Img is image-to-image generation: an existing image provides the visual starting point, while a prompt and model settings direct what should change.
It is useful for restyling portraits, developing sketches, placing products in new scenes, and exploring variations while keeping selected visual anchors recognizable.
Reviewed byImg2Img product team
PublishedUpdated
Product informationAbout Img2ImgContact
Official referencesOpenAI image generation guideGoogle Gemini image generation guide
A repeatable process
Img2Img is most useful when you treat the source as evidence, not decoration. Give the model a clear visual anchor, direct a specific change, and review whether the result preserved the details that matter.
Choose a clear photo, product shot, sketch, illustration, or previous AI result. A readable subject and intentional framing give the model a stronger starting point.
State the subject, identity, pose, silhouette, camera angle, layout, logo placement, or other visual anchor that must remain recognizable.
Specify a concrete new setting, material, lighting treatment, palette, medium, or mood. One coherent direction is easier to judge than a list of unrelated ideas.
Check the output beside the source. Review identity, anatomy, text, logos, proportions, and product details, then revise the smallest instruction that caused the miss.
Control the output
Settings should support the job you are doing. Start with the source ratio when composition matters, use one output while refining the prompt, and move to higher-quality or additional outputs only after the direction is working.
Choose a model for the kind of change you need. A fast free model is useful for testing direction; credit models may provide different style control, fidelity, speed, or output options.
Match the source ratio when preserving framing is important. Change the ratio only when the new crop is part of the brief, and expect the model to reinterpret space near the edges.
Generate one image while fixing the prompt. Multiple outputs are useful after the instruction is stable because they let you compare variations without changing the brief.
Use low-cost previews to test composition and direction. Increase quality for final detail only after the source, prompt, model, and ratio are producing the right result.
Prompt structure
A useful Img2Img prompt separates the visual anchor from the requested change. This makes the result easier to review and gives you a clear sentence to revise when the model moves too far or not far enough.
Name the subject, identity, pose, silhouette, product shape, room layout, or camera angle that must stay recognizable.
Describe the new environment, lighting, material, wardrobe, palette, medium, or treatment in concrete visual terms.
Add a coherent visual direction such as editorial photography, handcrafted clay, graphic novel ink, or warm architectural rendering.
State constraints worth reviewing: keep facial identity, preserve label placement, retain window positions, or avoid changing the camera angle.
Keep the package shape, label placement, logo, and front camera angle recognizable. Place the product in a bright editorial studio with warm side light, tactile fabric, and a bold seasonal color story.
Use this prompt structureKeep the face, expression, pose, hairstyle, and crop recognizable. Restyle the portrait as a polished contemporary anime illustration with clean linework, vivid color blocks, and natural skin detail.
Use this prompt structurePreserve the character silhouette, horns, flower, staff, outfit, and front-facing pose. Develop the sketch into a warm, detailed fantasy illustration with soft forest light and handcrafted texture.
Use this prompt structureTroubleshooting
Do not rewrite everything after a weak result. Identify whether the miss came from the anchor, requested change, framing, or fine details, then adjust that part of the instruction.
Repeat the visual anchor near the start of the prompt. Name identity, pose, silhouette, or product features precisely, and reduce change strength when the selected model exposes that control.
Replace broad words such as “better” or “creative” with visible choices for light, material, setting, palette, or medium. Ask for one stronger direction instead of several mild ones.
Restate camera angle, crop, subject position, and layout. Use an aspect ratio close to the source unless a new composition is intentional.
Treat these as review points, not guaranteed outputs. Regenerate or revise with the exact detail named, compare at full size, and verify brand assets and text before publishing.
Judge visible change
Strong examples make both preservation and transformation visible. The source should still explain the result, while the new image clearly earns its difference in setting, medium, material, or mood.

Upload a source image, choose a model, and describe what to keep or change. The brand preview introduces the workspace for creating your next image.
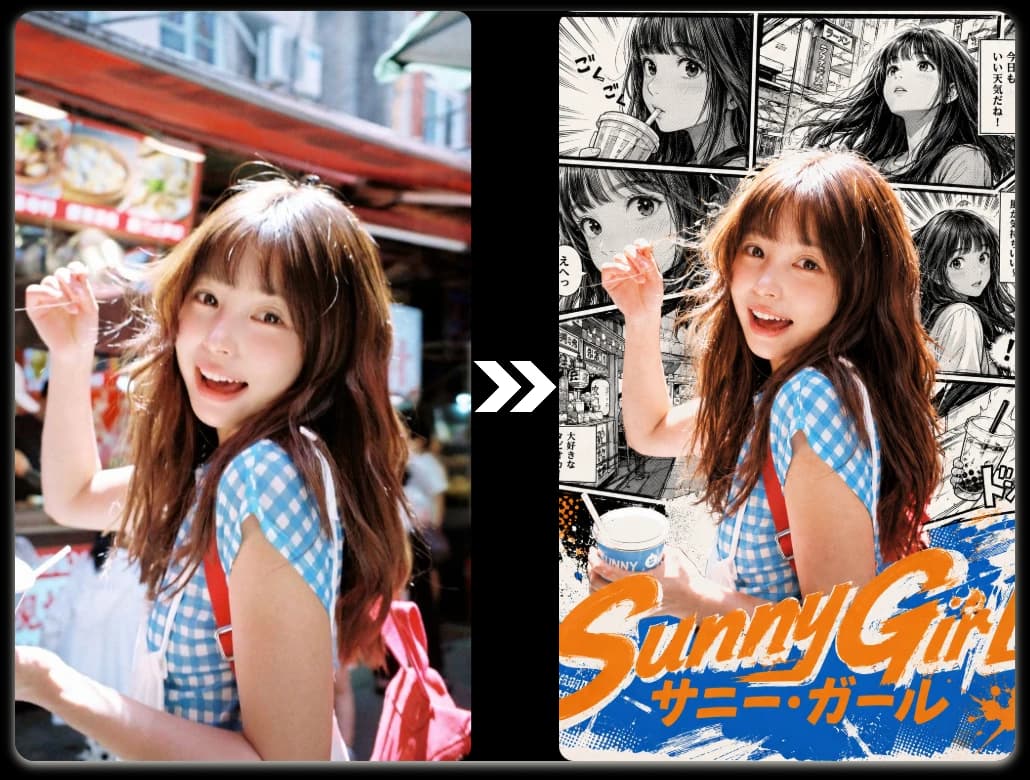
The face, pose, and framing remain easy to compare while linework, color, texture, and background language move into a new style.
Img2Img questions
The practical details users need when choosing a source, writing a prompt, and reviewing an Img2Img result.
Img2Img is short for image-to-image generation. An existing image provides the visual starting point, while a prompt and model settings direct a new result. The source can guide subject identity, pose, shape, composition, color, or other visual evidence.
Text-to-image starts from words alone. Img2Img starts from both an image and an instruction, so it is better suited to restyling, concept variations, sketch development, product scenes, and edits where some visual structure should remain recognizable.
Name what should stay, describe the concrete change, add one coherent style or treatment, and list the details you will review. Avoid vague requests and conflicting styles. A focused prompt is easier to compare against the source and easier to revise.
No generative model guarantees an exact copy. A clear source and precise anchor improve continuity, but you should still review identity, anatomy, text, logos, proportions, and product details. Use deterministic editing tools when exact pixel-level preservation is required.
Yes. The available free model can be used without sign-up within the displayed allowance and supported fixed settings; unavailable choices remain visible but disabled. Credit models require sign-in and show their estimated credit cost before generation.
Commercial use depends on your rights to the source, the selected model terms, and the final content. Use images you own or may use, review brand assets and third-party rights, and confirm the applicable model and product terms before publishing.
Start with the source
Upload one clear image, write one focused change, and compare the result against the visual anchor you chose to preserve.